Deployment of a Microservices Application on K8s
🕸️ What are Microservices ⁉️
Microservices architecture is an approach to software development where a complex application is broken down into smaller, loosely coupled, and independently deployable services. These services are responsible for specific, well-defined functions and communicate with each other through APIs or other messaging mechanisms. Kubernetes (K8s) is a powerful container orchestration platform that provides an ideal environment for deploying and managing microservices. Here's a brief overview of how microservices work on Kubernetes:
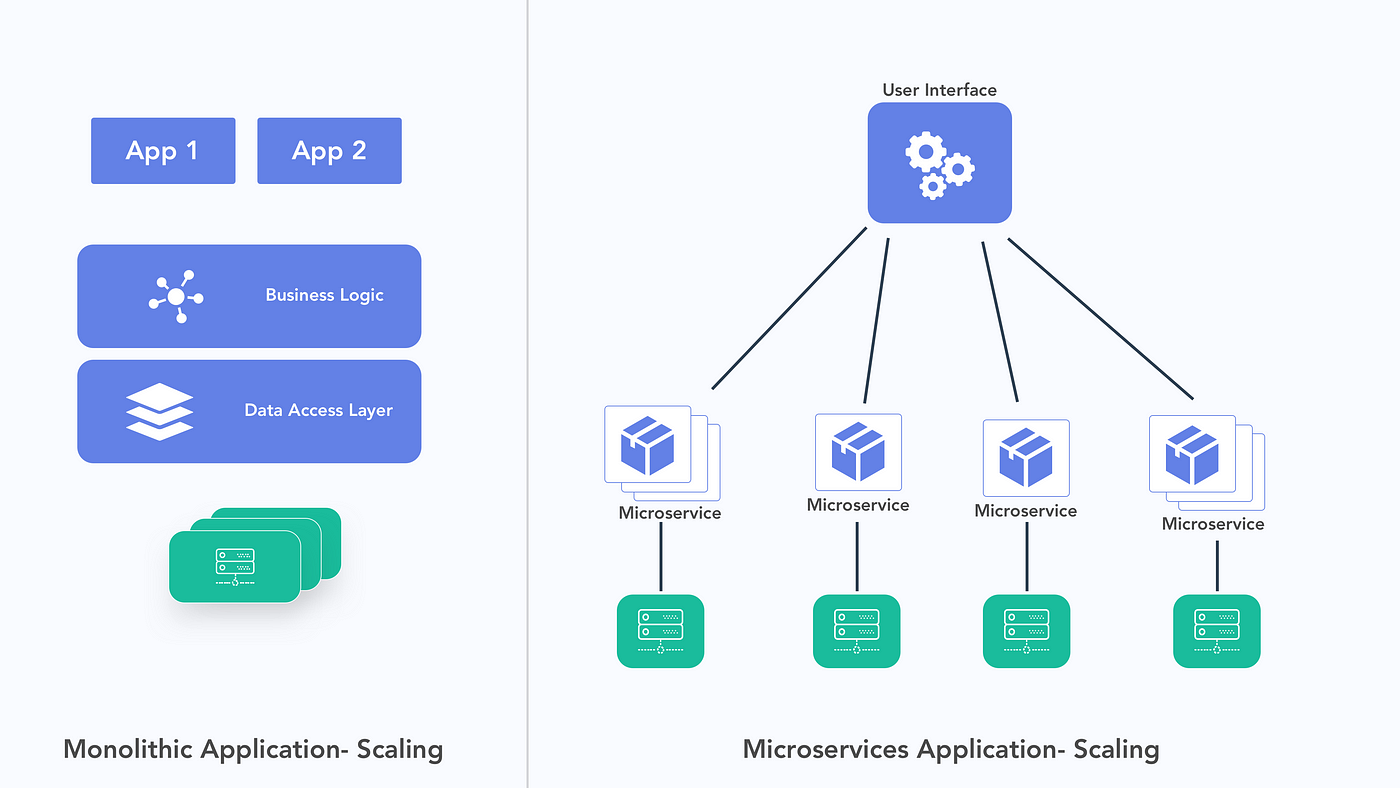
Containerization: Microservices are typically packaged as containers using technologies like Docker. Containers provide a consistent and lightweight runtime environment, ensuring that services run consistently across various environments.
Kubernetes as an Orchestrator: Kubernetes simplifies the deployment and management of microservices by automating tasks such as scaling, load balancing, and service discovery. It abstracts the underlying infrastructure, making it easier to focus on application development.
Service Deployment: Each microservice is deployed as a separate container within a Kubernetes cluster. Kubernetes ensures that these containers are distributed across nodes for high availability and scalability.
Service Discovery: Kubernetes provides built-in service discovery mechanisms that allow microservices to locate and communicate with each other. Services are exposed via Kubernetes Services, which act as load balancers and route traffic to the appropriate microservice instances.
Scaling: Microservices can be independently scaled up or down based on demand. Kubernetes supports both manual and auto-scaling strategies, ensuring that resources are allocated efficiently.
Fault Tolerance: Kubernetes monitors the health of microservices and automatically replaces failed instances with healthy ones. This enhances the fault tolerance of microservices applications.
Configuration Management: Kubernetes allows you to manage configurations for each microservice through ConfigMaps and Secrets. This enables you to change configurations without modifying the application code.
Rolling Updates: Kubernetes supports rolling updates, making it easy to update microservices without downtime. This is crucial for maintaining application availability and reliability.
Logging and Monitoring: Kubernetes integrates with various logging and monitoring tools, allowing you to collect and analyze data from microservices for troubleshooting and performance optimization.
Security: Kubernetes offers robust security features, such as RBAC (Role-Based Access Control) and network policies, to protect microservices from unauthorized access and secure communication between them.
Resource Management: Kubernetes provides resource management features, such as resource quotas and limits, to ensure that microservices do not consume excessive CPU and memory resources.
Cloud-Native: Kubernetes is designed to work seamlessly in cloud environments, making it suitable for building cloud-native microservices applications that can easily scale and leverage cloud services.
Kubernetes simplifies the deployment, scaling, management, and orchestration of microservices, making it an excellent choice for organizations looking to embrace a microservices architecture for building scalable and resilient applications. However, it's important to note that while Kubernetes provides many benefits, it also introduces complexities, and managing microservices effectively on Kubernetes requires careful planning and expertise.
🕸️ Hands-On Practice:
Let's make deploy a flask-api and mongo on kubernetes , where they both communicate to each other :
Prerequisites:
First we have to clone the repo ,build the docker image and push it to docker hub
Then create two instances one as master and other as worker having t2.medium and follow the steps.
Step 1: Clone the Repository
# Clone the microservices application repository
git clone <your-repo-url>
cd <your-repo-directory>
Step 2: Build and Push Docker Images
Build Docker images for your Flask and MongoDB services and push them to Docker Hub. Make sure you have Dockerfiles for both services:
FROM python:alpine3.7
COPY . /app
WORKDIR /app
RUN pip install -r requirements.txt
ENV PORT 5000
EXPOSE 5000
ENTRYPOINT [ "python" ]
CMD [ "app.py" ]
# Build and push Flask service image
docker build -t your-docker-hub-username/taskmaster-python:latest
# docker login
docker login
# push the image
docker push your-docker-hub-username/taskmaster-python:latest
Installing Kubeadm on both the nodes:
Create two instances with t2.medium:
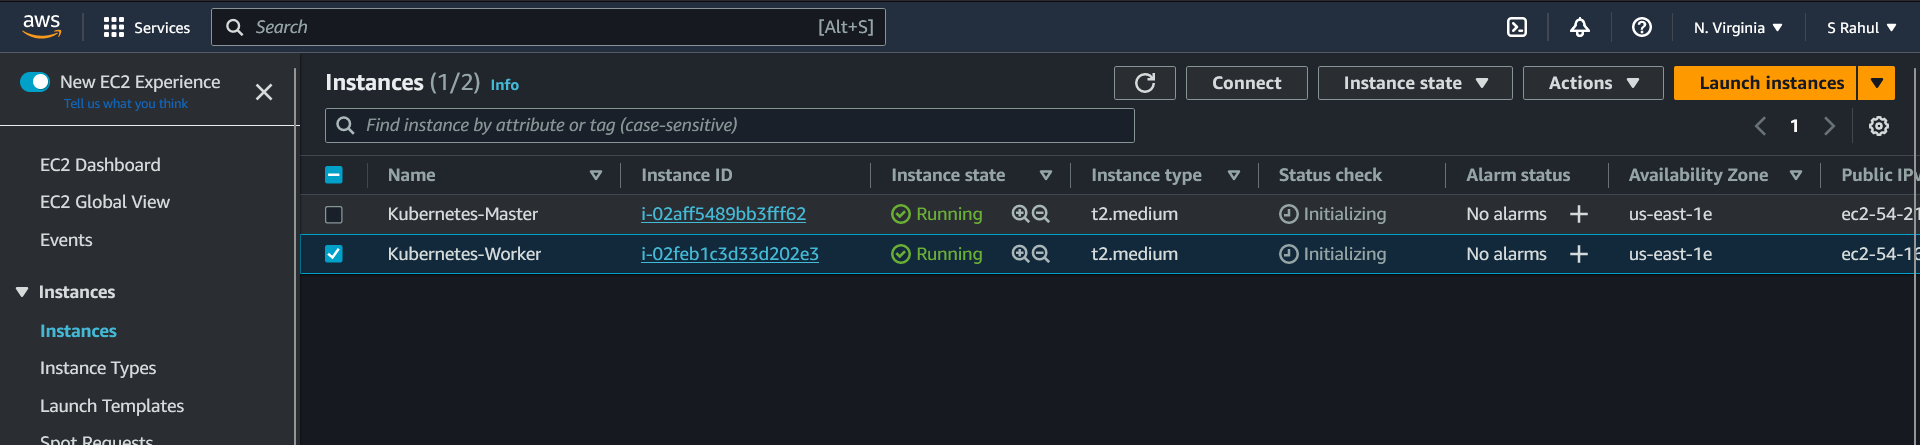
On both Master and Worker Nodes:
- Install Docker and Kubernetes components:
sudo su
apt update -y
apt install docker.io -y
systemctl start docker
systemctl enable docker

# Add Kubernetes repository and install required packages
curl -fsSL "https://packages.cloud.google.com/apt/doc/apt-key.gpg" | sudo gpg --dearmor -o /etc/apt/trusted.gpg.d/kubernetes-archive-keyring.gpg
echo 'deb https://packages.cloud.google.com/apt kubernetes-xenial main' > /etc/apt/sources.list.d/kubernetes.list

apt update -y
apt install kubeadm=1.20.0-00 kubectl=1.20.0-00 kubelet=1.20.0-00 -y
On the Master Node:
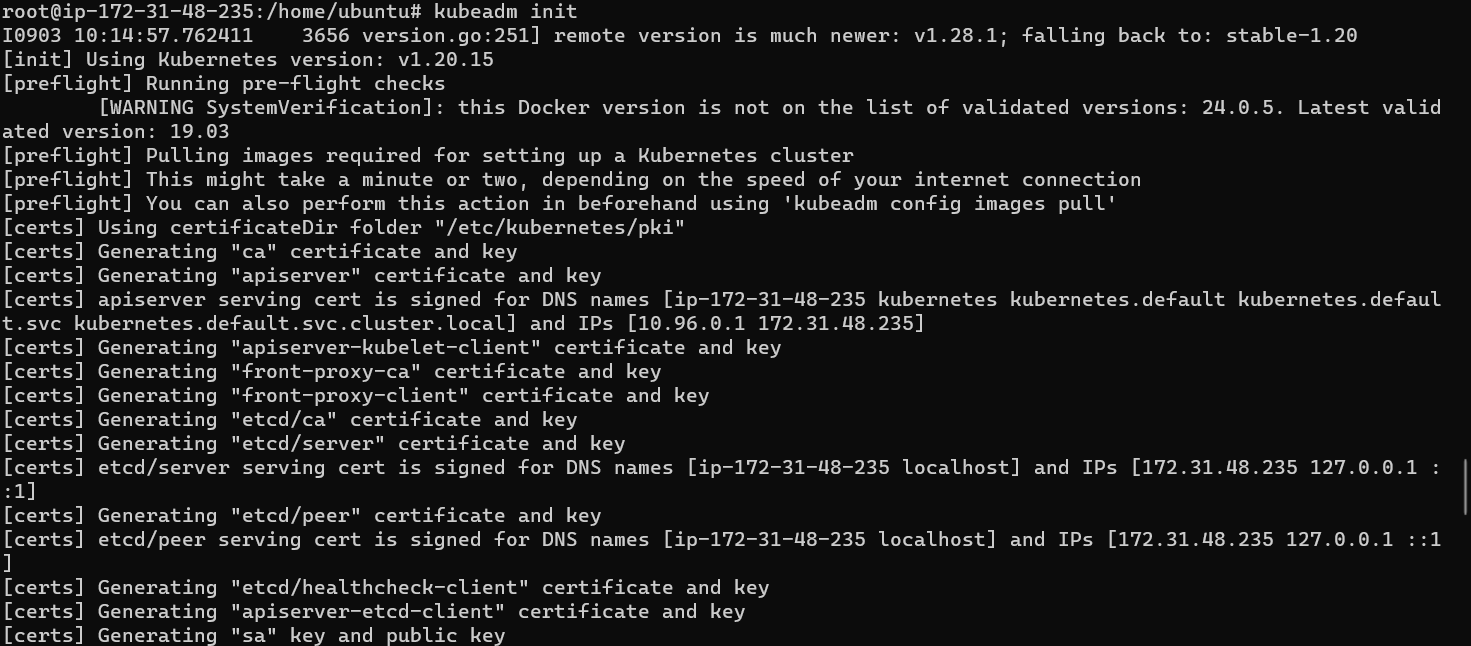
- Initialize Kubernetes and set the KUBECONFIG environment variable:
kubeadm init
export KUBECONFIG=/etc/kubernetes/admin.conf

- Install a network plugin (Weave in this case):
kubectl apply -f https://github.com/weaveworks/weave/releases/download/v2.8.1/weave-daemonset-k8s.yaml
- Obtain the join command for worker nodes:
kubeadm token create --print-join-command
On the Worker Node:
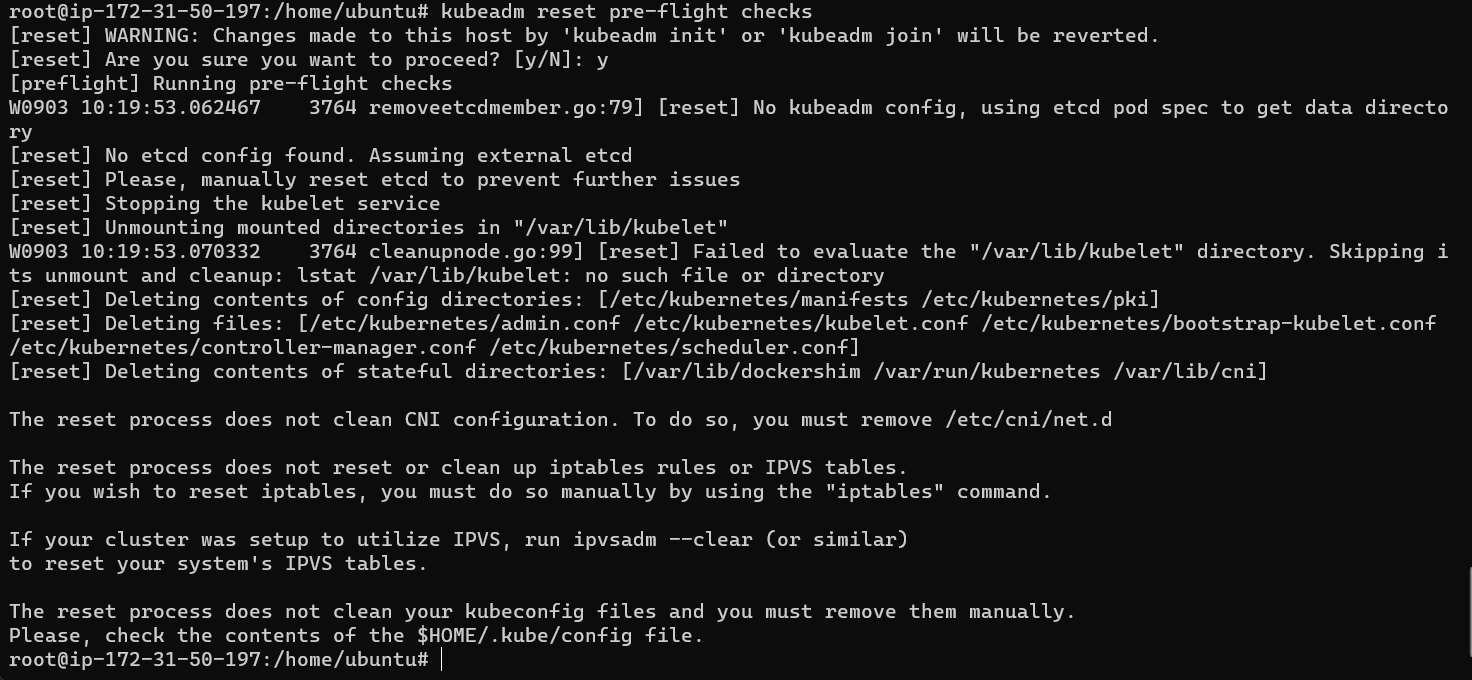
- Reset Preflight-checks on worker node
sudo su
kubeadm reset pre-flight checks
Paste and run the join command obtained from the master node. Append
--v=5at the end to increase verbosity for debugging if needed.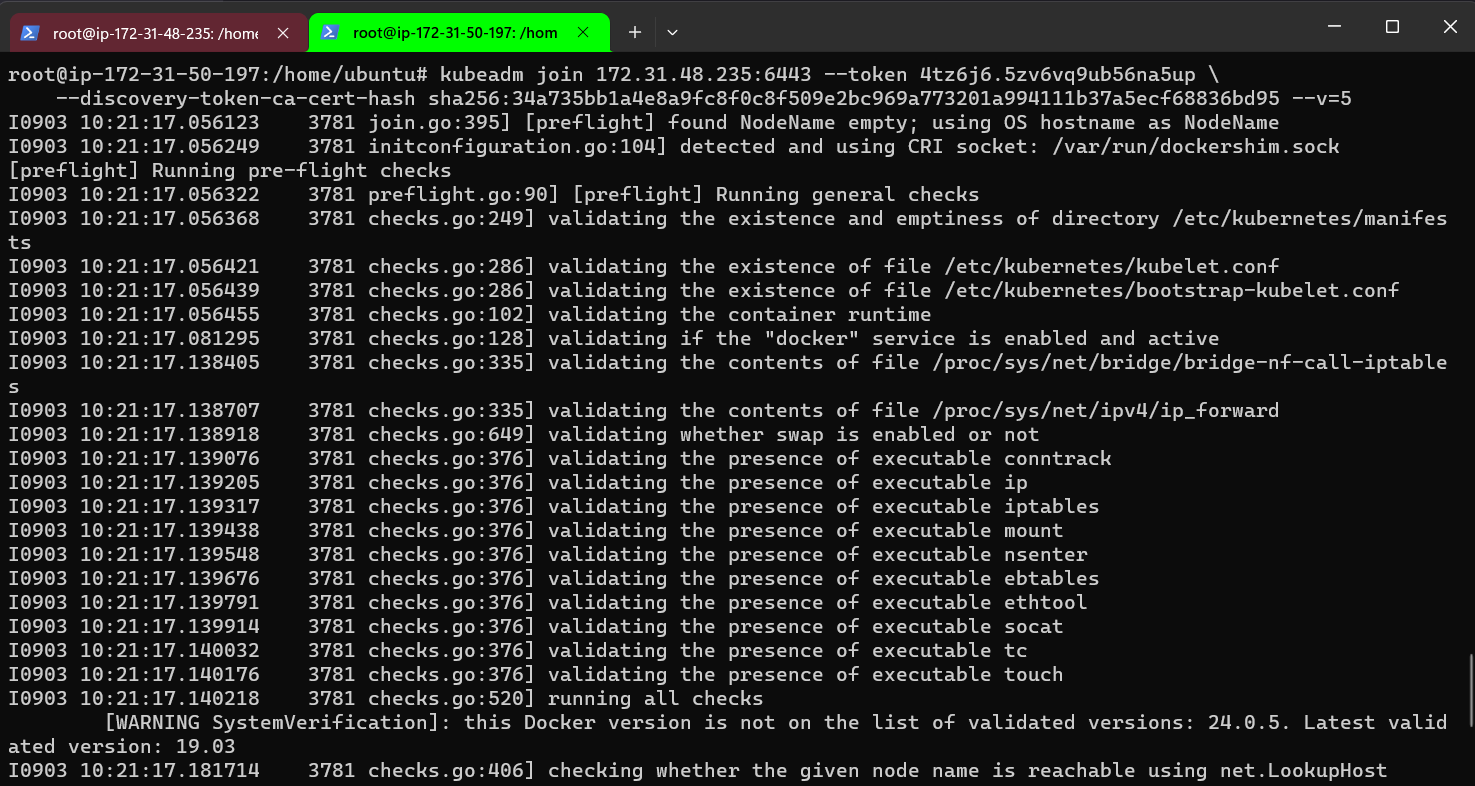

Back on the Master Node:
- Check that the worker node has joined the cluster:
kubectl get nodes

- Clone your GitHub repository and navigate to the
/flask-api/k8s/directory.
Deploy Flask Application:
Deploy Flask microservices using YAML files:
- For the integration of Mongo and flask app we need to change the deployment manifest taskmaster.yml to include MONGO_HOST env. variable as shown below -
    apiVersion: apps/v1
    kind: Deployment
    metadata:
      name: taskmaster
      labels:
        app: taskmaster
    spec:
      replicas: 2
      selector:
        matchLabels:
          app: taskmaster
      template:
        metadata:
          labels:
            app: taskmaster
        spec:
          containers:
            - name: taskmaster
              image: srahul0502/taskmaster-python:latest
              env:
                - name: MONGO_HOST
                  value: "mongo.default.svc.cluster.local:27017"
              ports:
                - containerPort: 5000
              imagePullPolicy: Always
Taskmaster-service.yml
  apiVersion: v1
  kind: Service
  metadata:
    name: taskmaster-svc
  spec:
    selector:
      app: taskmaster
    ports:
      - port: 80
        targetPort: 5000
        nodePort: 30007
    type: NodePort
kubectl apply -f taskmaster.yml
kubectl get pods
kubectl apply -f taskmaster-svc.yml
kubectl get svc


- Scale the Flask application if needed:
kubectl scale --replicas=3 deployment/taskmaster

On Worker-node:
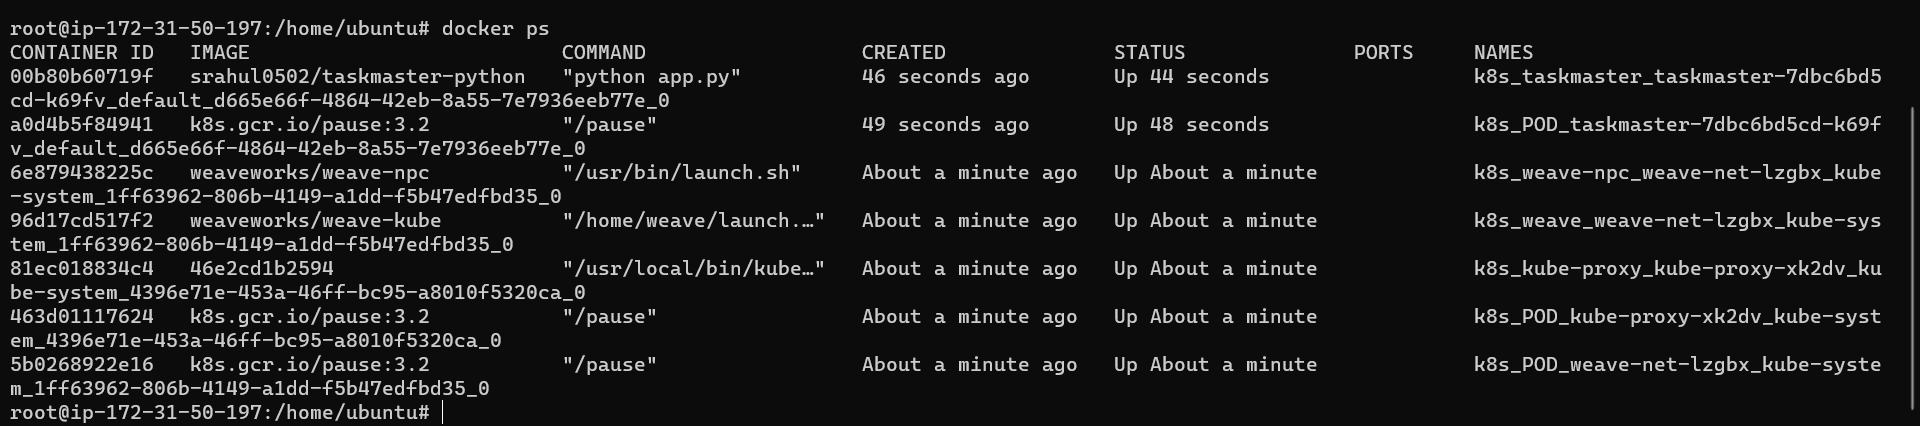
Use docker ps to check the containers running :
Set Up MongoDB:
Deploy a persistent volume for MongoDB storage:
Mongo-pv.yml
  apiVersion: v1
  kind: PersistentVolume
  metadata:
    name: mongo-pv
  spec:
    capacity:
      storage: 256Mi
    accessModes:
      - ReadWriteOnce
    hostPath:
      path: /tmp/db
kubectl apply -f mongo-pv.yml
kubectl get pv

Create a Persistent Volume Claim (PVC):
- mongo-pvc.yml
    apiVersion: v1
    kind: PersistentVolumeClaim
    metadata:
      name: mongo-pvc
    spec:
      accessModes:
        - ReadWriteOnce
      resources:
        requests:
          storage: 256Mi
kubectl apply -f mongo-pvc.yml
kubectl get pv

- Deploy MongoDB:
kubectl apply -f mongo.yml
kubectl get pods

Check if the mongo is working or not
Use docker ps to check if the docker container is running or not :
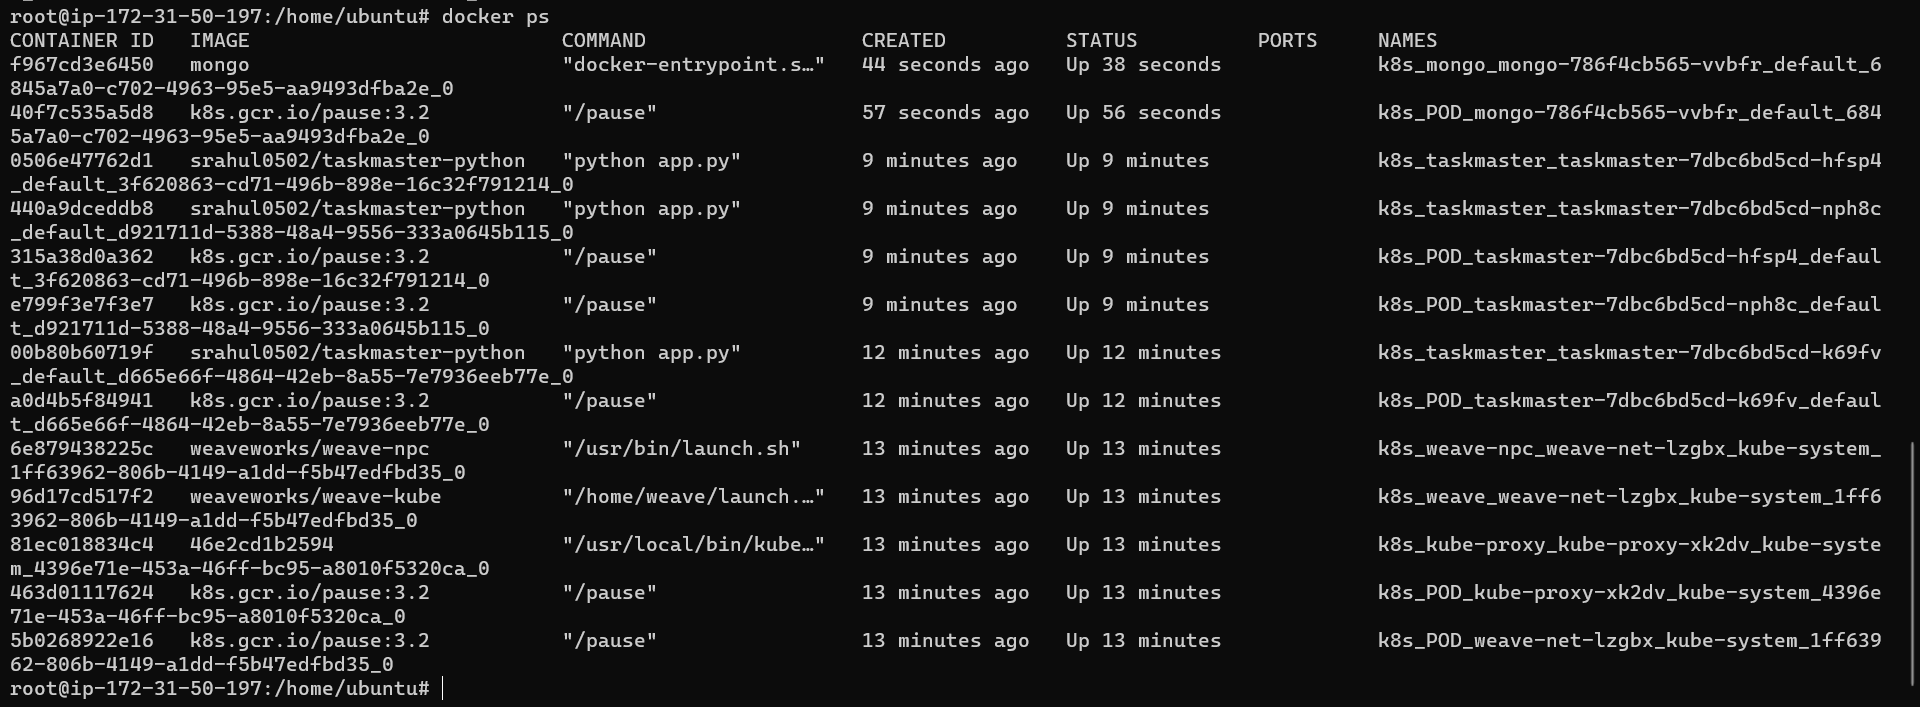
Go to worker node , type
docker exec -t <docker-id> bash, use mongosh to enter into mongo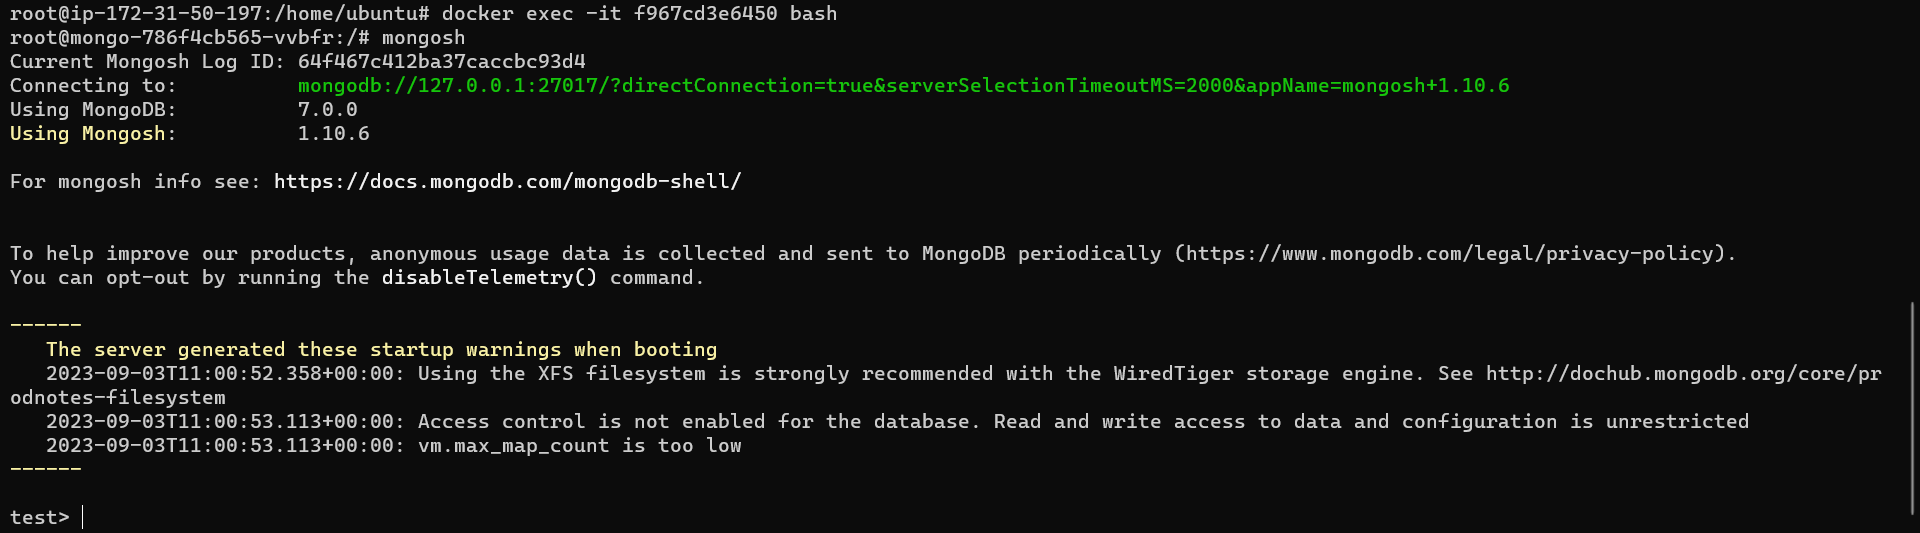
Create a MongoDB service:
Mongo-svc.yml
  apiVersion: v1
  kind: Service
  metadata:
    labels:
      app: mongo
    name: mongo
  spec:
    ports:
      - port: 27017
        targetPort: 27017
    selector:
      app: mongo
kubectl apply -f mongo-svc.yml
kubectl get svc

Testing:
Test the Flask application using Postman or CURL by accessing the worker node IP and the exposed service port (e.g., IP:30007).
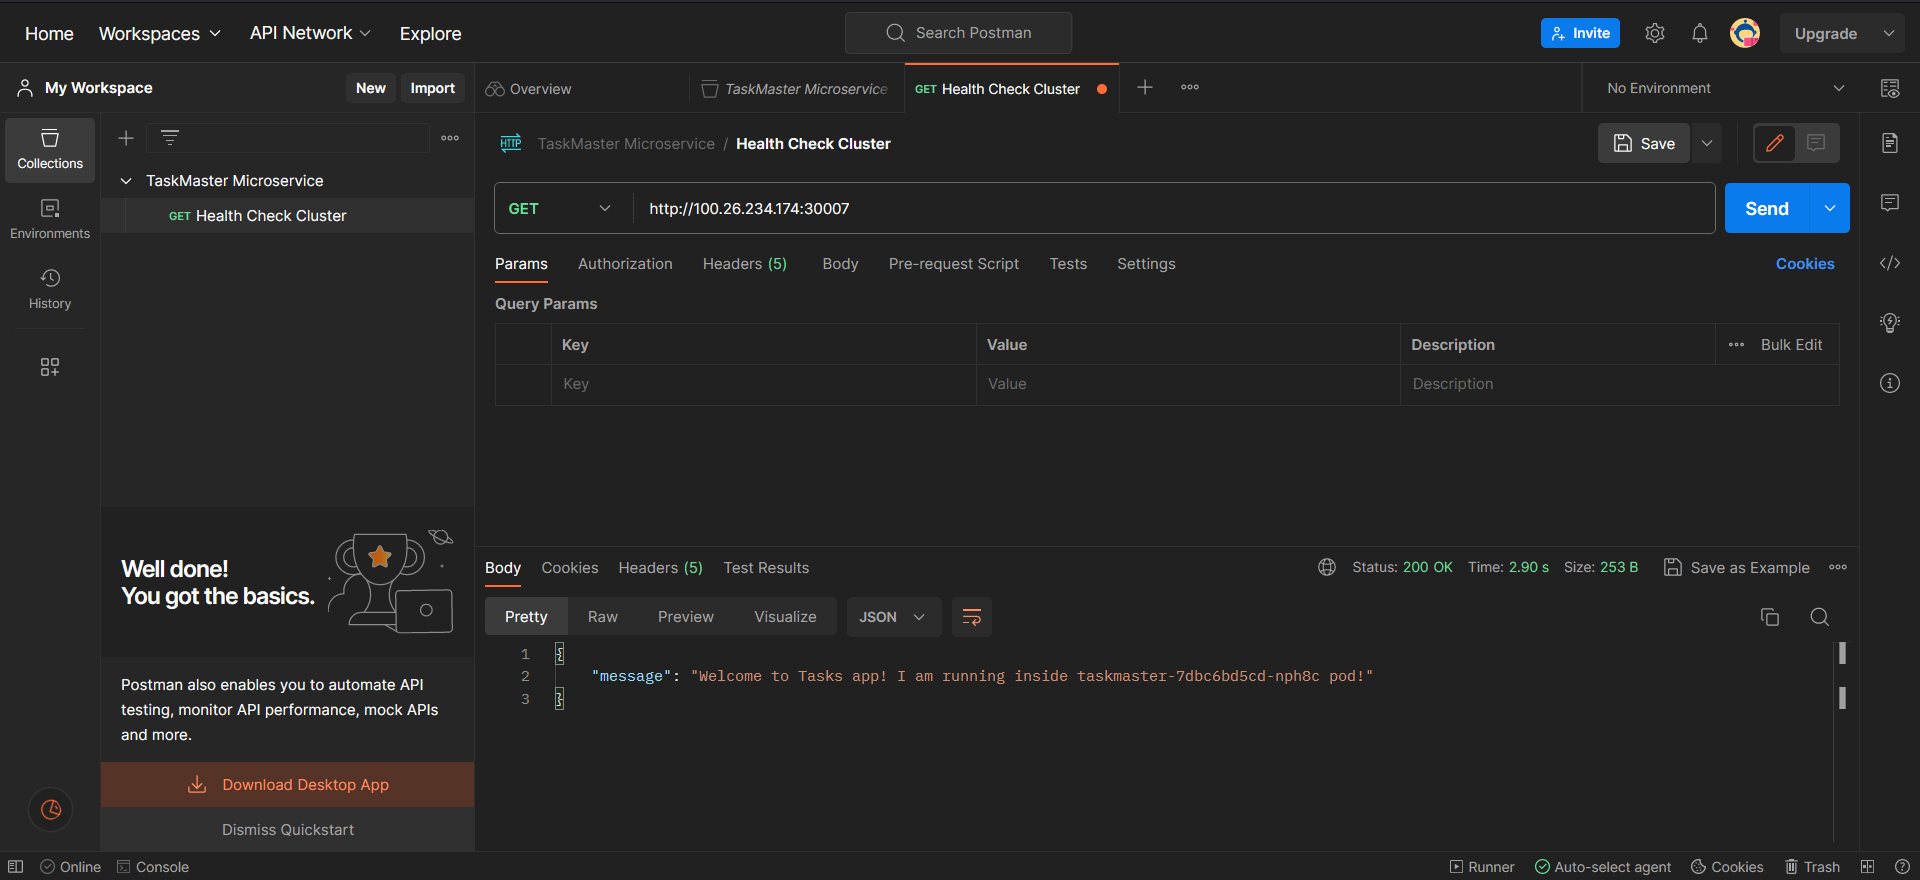
You can test if the application is working by trying to insert and then fetch data from the DB using the flask app requests GET /tasks and POST /task.
GET /tasks :
curl 34.229.68.229:30007/tasks
Insert Data to MongoDB using POST /task path and then get all data using GET /tasks path:
curl -X POST -H "Content-Type: application/json" -d '{"task":"Show everyone the project"}' http://34.229.68.229:30007/task
curl 34.229.68.229:30007/tasks